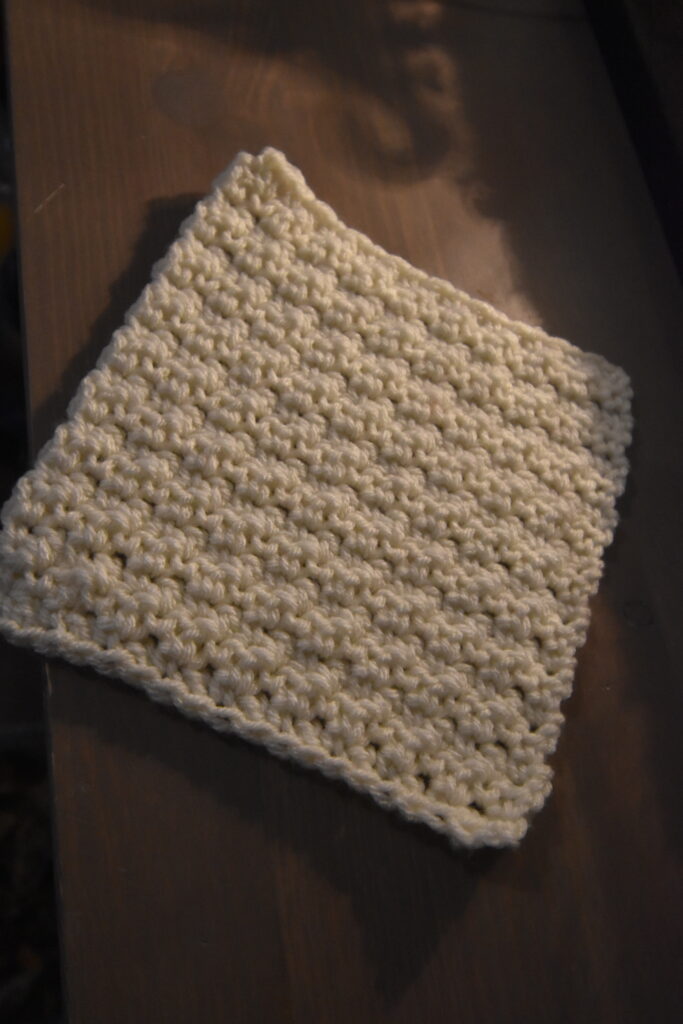
Hello friends! Welcome back to my blog! Today, I will show you guys how to do the lemon peel crochet stitch. The lemon peel stitch is one of my all-time favorites. I loved it so much that I crocheted my wedding dress with it! It has such a beautiful texture and is super fun to make
***This post contains affiliate links. That means that if you make a purchase after clicking on a link I may earn a small commission at no extra cost to you.***
Let’s get started! ~
What you’ll need :
- Weight 4 acrylic yarn (I use ‘I love this yarn’ from hobby lobby)
- 6mm crochet hook (this is the set I use https://amzn.to/3uNYwBm )
- Scissors
- Tapestry needle
- Tape measure
For those of you who already know how to do this stitch but want to make this square –
- Tie your yarn to your hook and ch 20
- Place a sc in the second ch from your hook, in the next ch place a dc. Continue down the ch alternating between a sc and a dc. You should end with a sc.
- Ch 2, dc in the first st, sc in the next. Repeat until you reach the end of your row.
- Continue repeating the row until you have 19 rows (so you will do 17 more rows.)
Your square should measure 6 1/4 x 6 1/4 inches. If your measurements match chain 1 and tie off.
Congrats! You’ve finished your square!
Now for my beginners! Grab your yarn and hook and lets get started
(if you prefer a video here’s a link to my YouTube video : https://youtu.be/1iPfM7-F4Ko?si=_OQUeYVF6ez9KOZH
To begin we are going to attach our yarn to our hook, I do that by tying on with a double knot, you can do it with a slip knot as well.
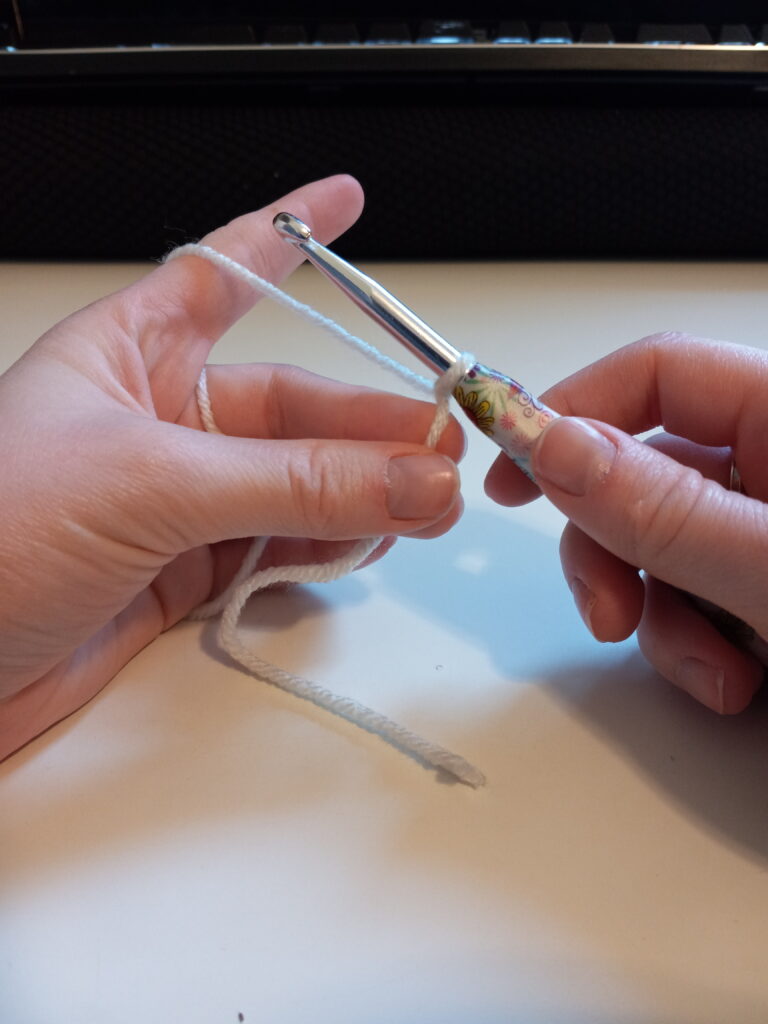
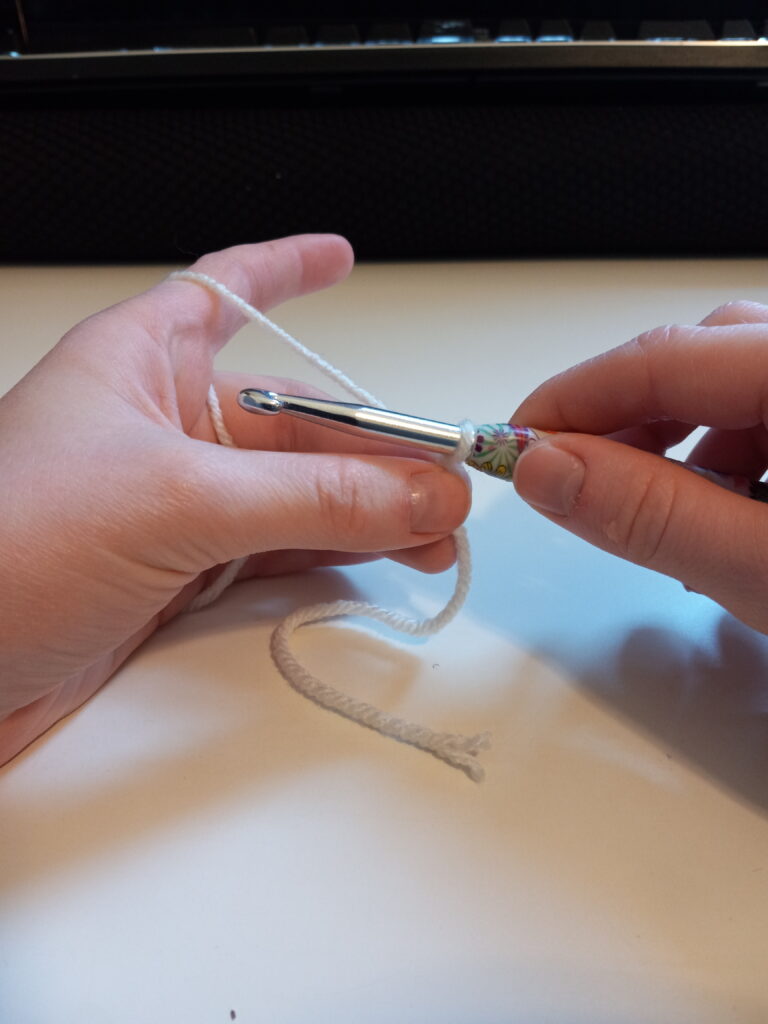
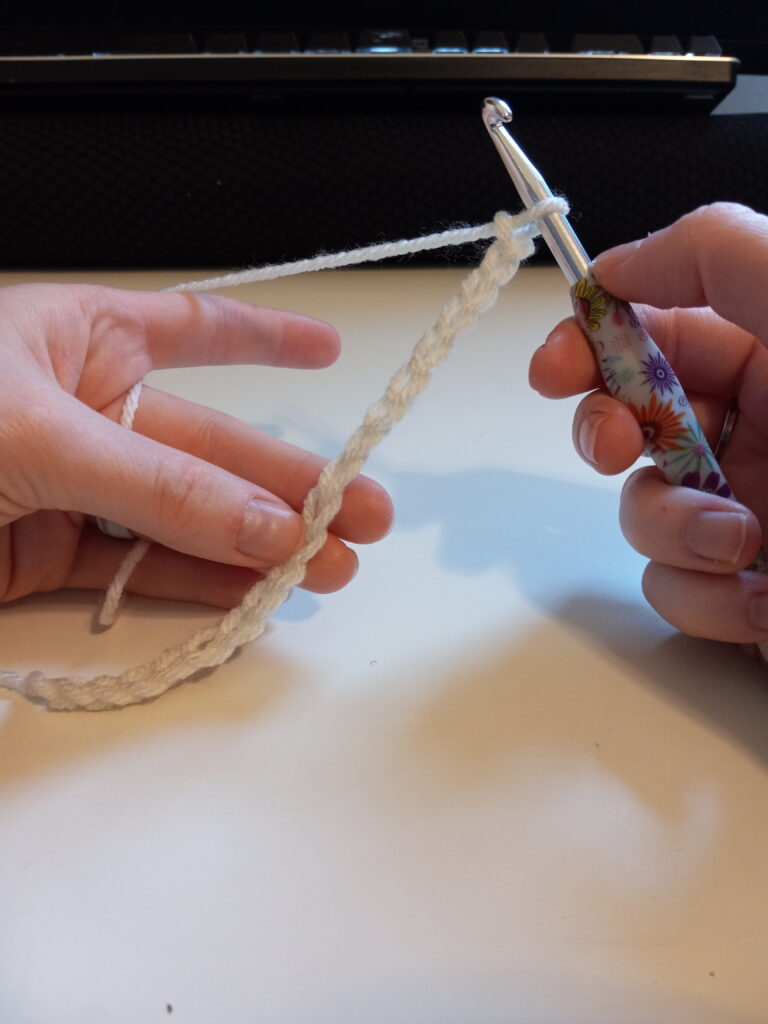
Once you have your yarn tied to your hook, ch 20. (20)
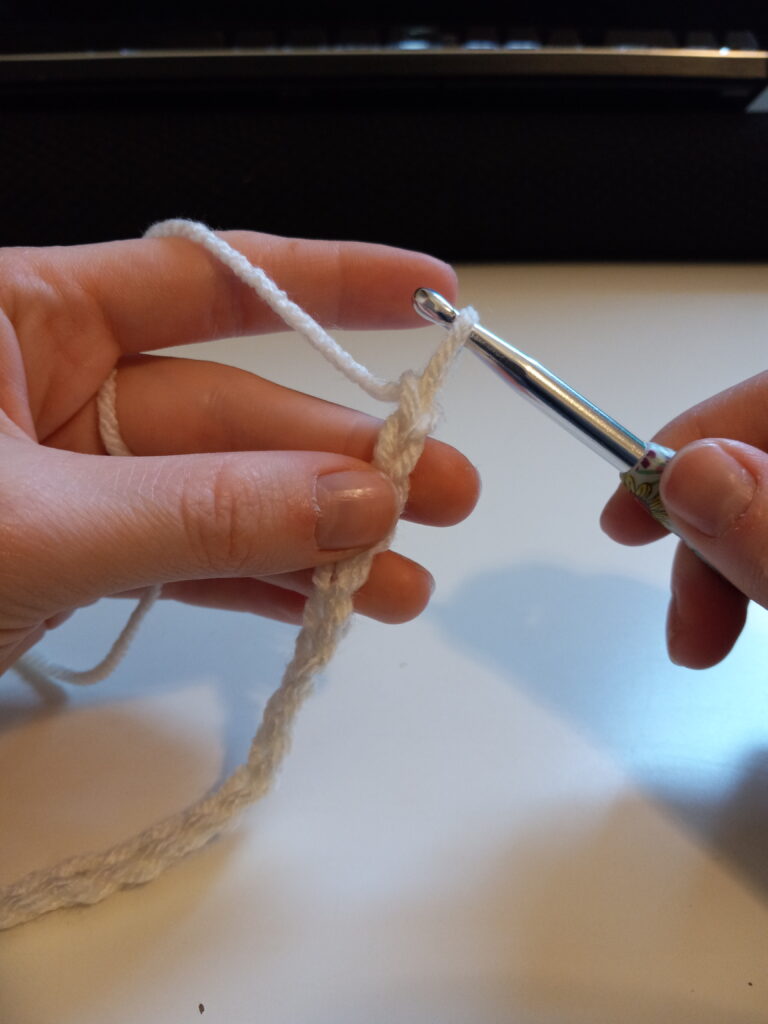
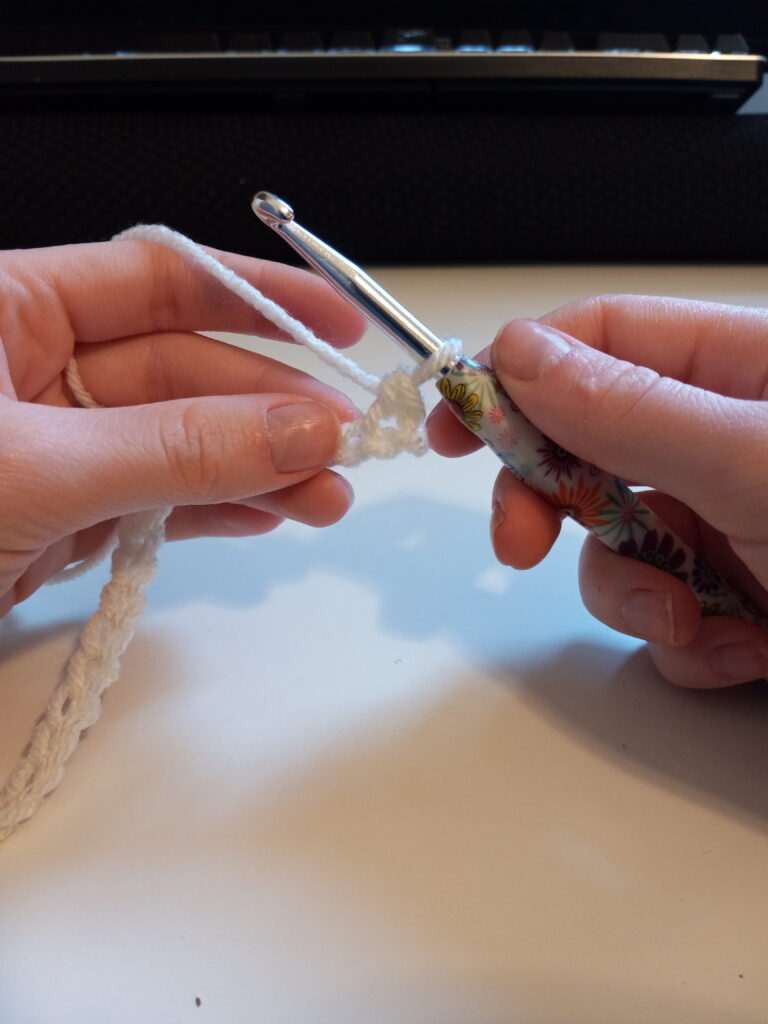
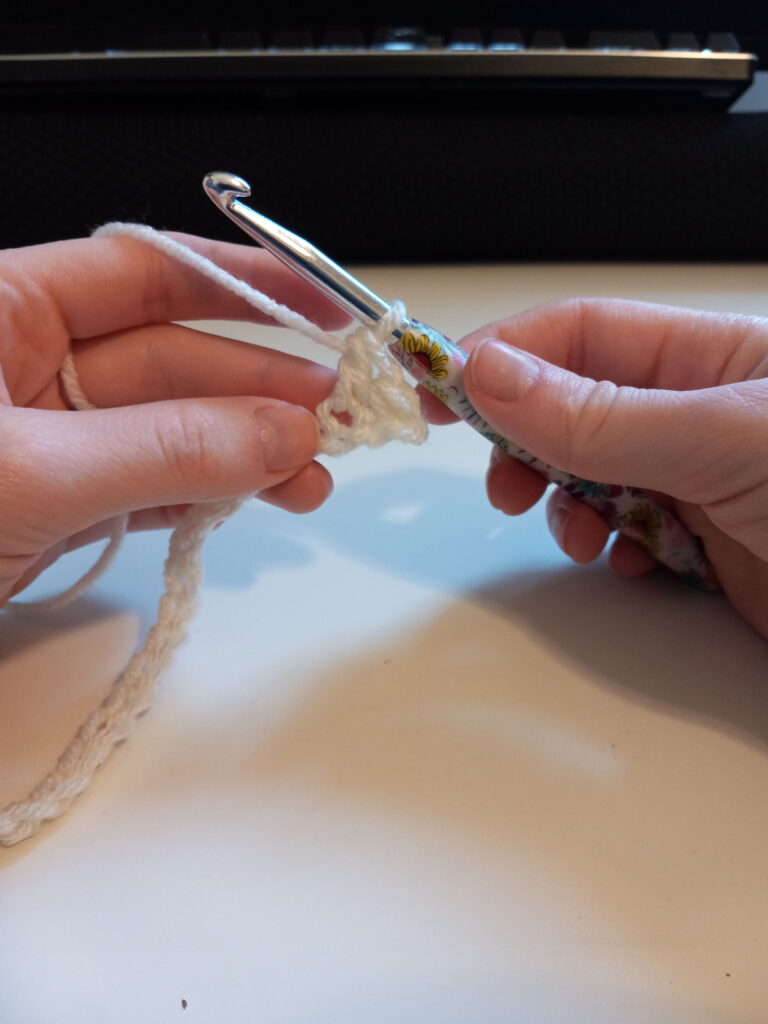
Once you have a ch of 20 you’re going to find the 2nd ch from your hook and place a sc in it. In the following stitch you will place a dc. Continue alternating between a sc and a dc until you have no more remaining chs. You should have ended on a sc. (19)
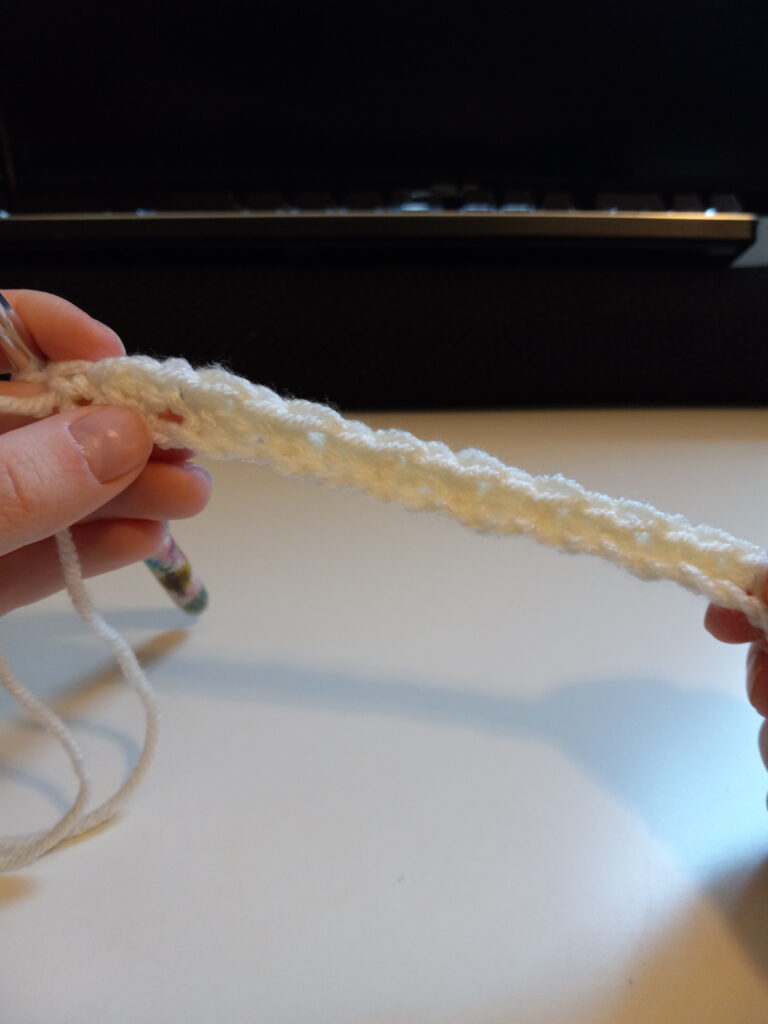
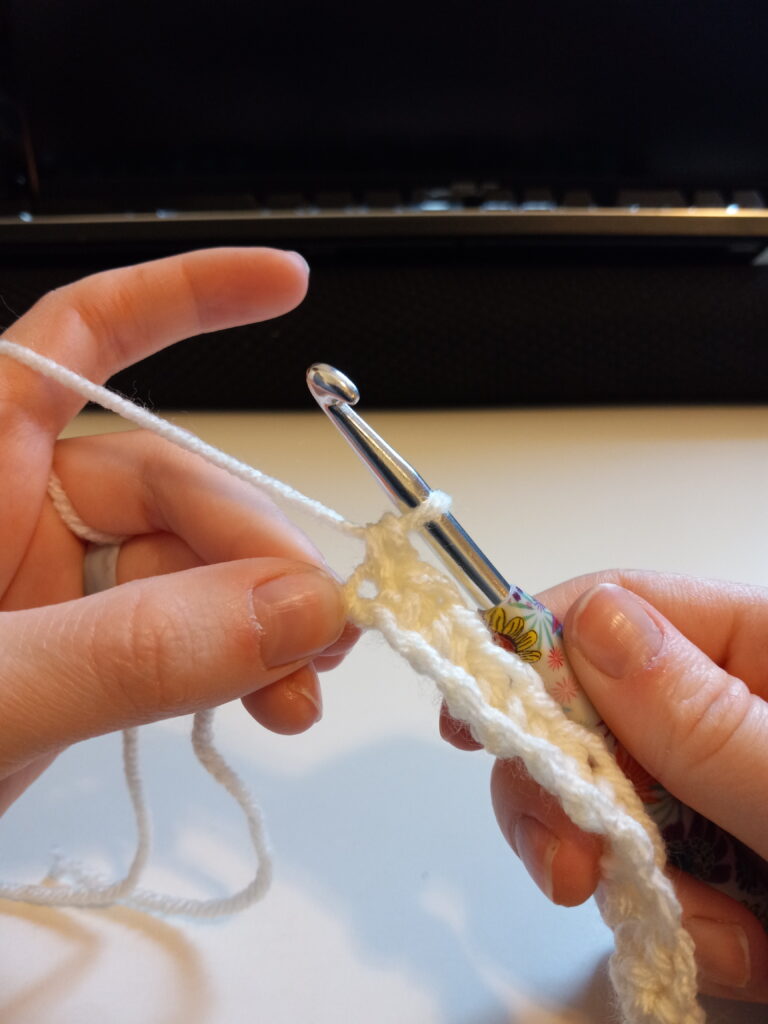
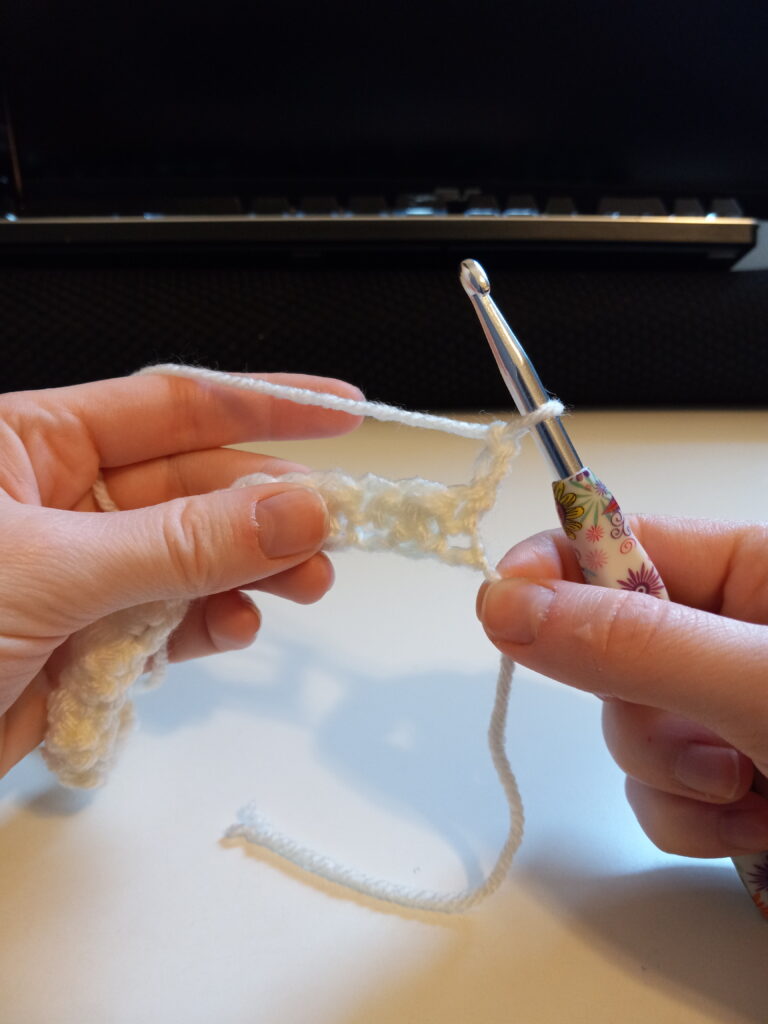
After completing your row, ch 2, and turn your work.
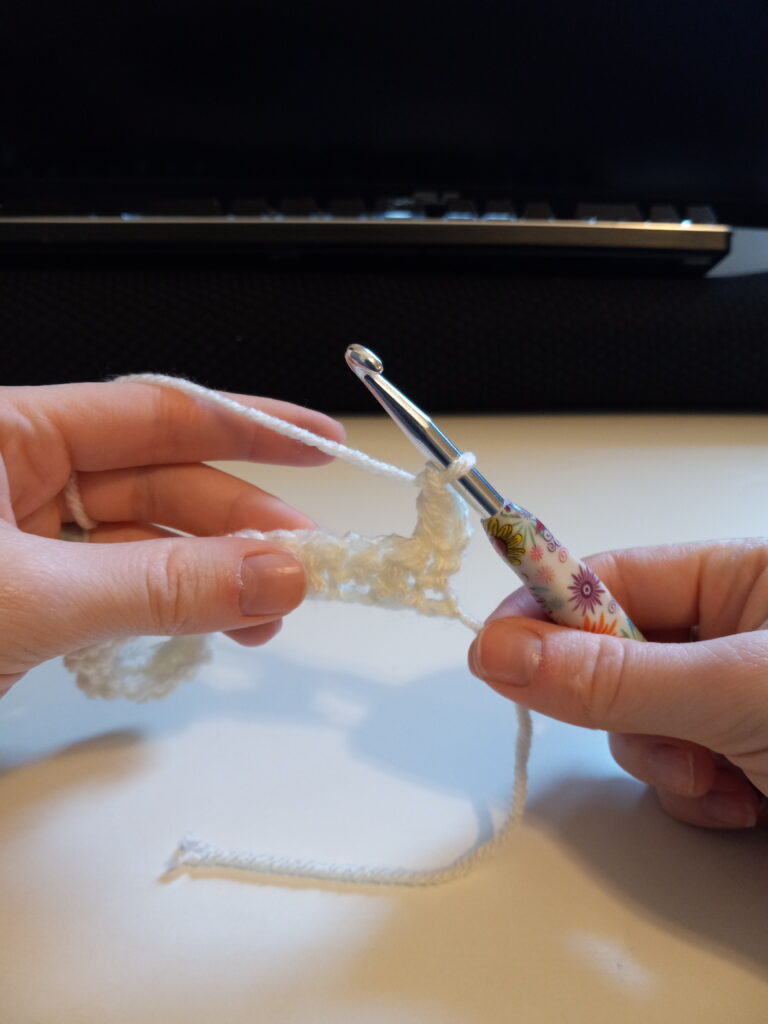
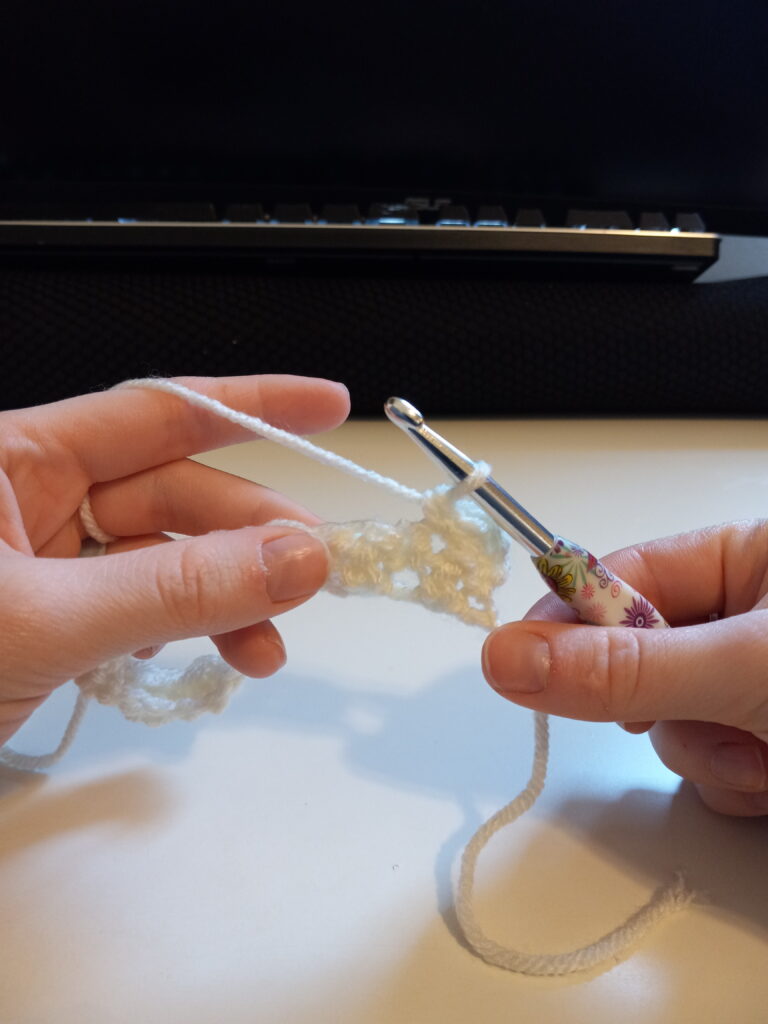
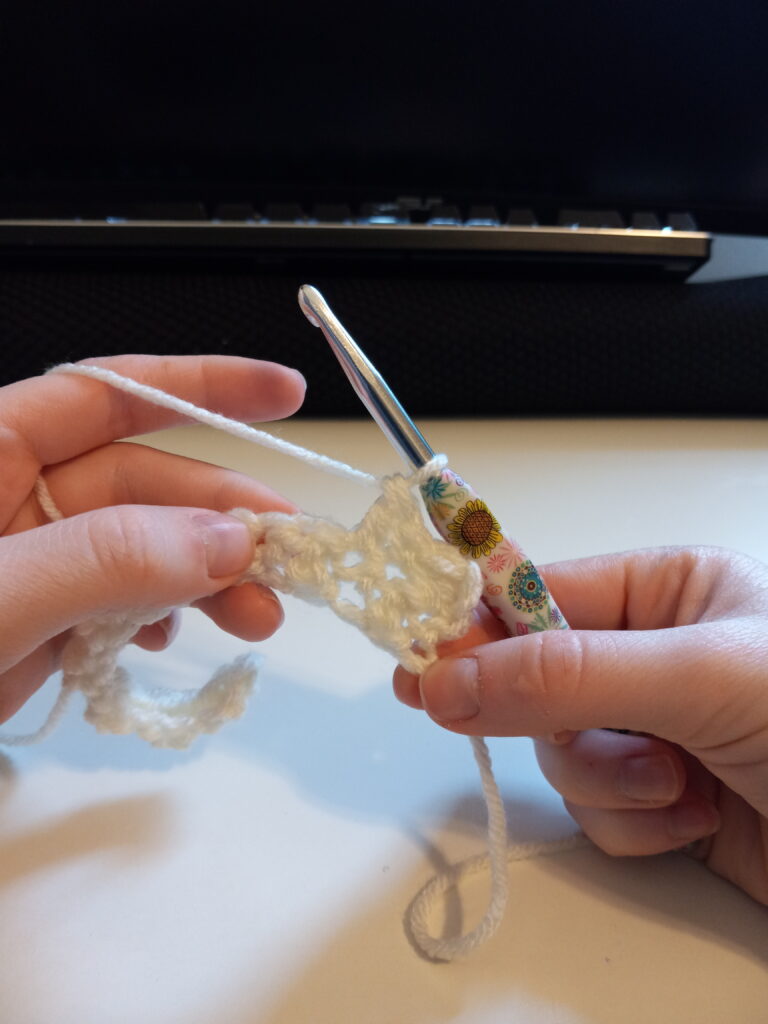
In the first st, place a dc, in the following st place a sc. Continue doing that until the end of the row. (19)
The secret to the texture of this sts is to place the opposite st of what the row below has. So taking the row above for reference, If you look at the first picture we placed a dc, and if you look at the row under, it’s a sc. Each row will alternate, the row above started with a dc so it should end with a dc, which means the next row will start and end with a sc, and so on.
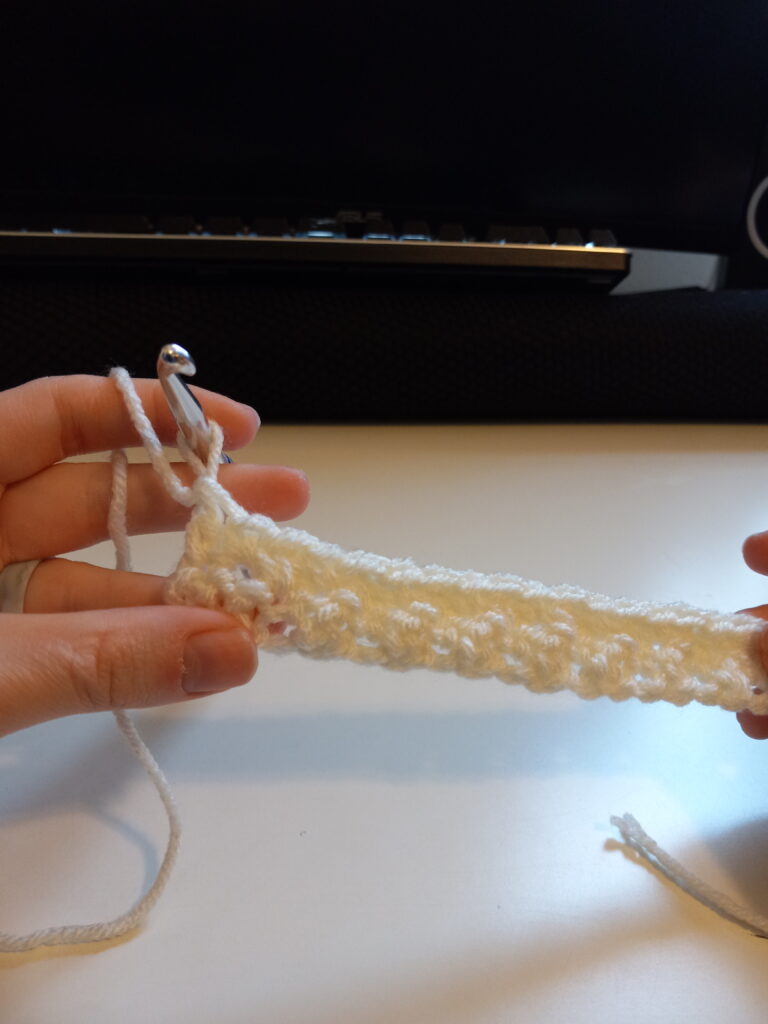
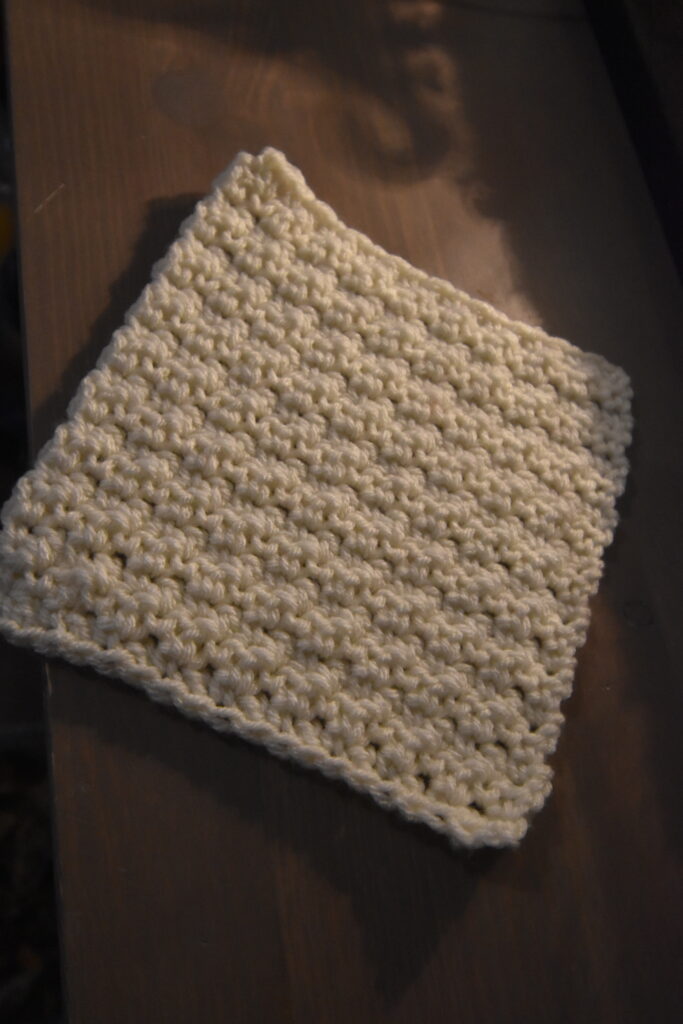
Continue crocheting rows until you have a total of 19. Once you have 19, your square should measure 6 1/4 x 6 1/4. To tie off, ch 1 and pull your loop out, doing this will create a knot.
I hope you guys enjoyed making this square, it is one of my all-time favorites
Leave a Reply